Tips for Keeping Kids’ Art Organized and Clutter-Free
Children’s artwork is a wonderful expression of creativity and imagination. From colorful drawings to crafty creations, these pieces hold sentimental value for both kids and parents. However, as the collection grows, it can quickly lead to clutter and disorganization. This blog post shares practical tips to help you keep your kids’ art projects organized while preserving those precious moments.
Why Organizing Kids’ Art Matters
Kids often create numerous art pieces, whether at school, home, or extracurricular activities. Organizing these artworks helps you:
– Preserve memories in a meaningful way
– Reduce household clutter
– Encourage your child’s creativity and pride in their work
– Easily find and display favorite pieces
With a simple system in place, you can balance keeping treasured art without feeling overwhelmed.
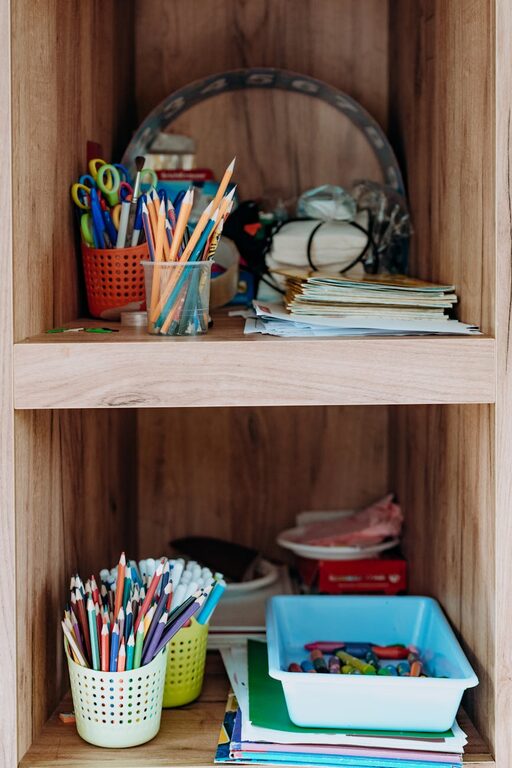
Create a Dedicated Art Space
Start by establishing a specific area for your child’s artwork. This could be a corner in their room, a shelf, or a drawer. Having a designated storage space makes it easier to keep art contained.
Ideas for Art Storage Spaces:
– Portfolios or binders: Use large folders or binders with plastic sleeves to safely store flat drawings and paintings.
– Storage boxes: Clear plastic bins or decorative boxes are great for bulkier projects like clay models or paper crafts.
– Art display boards: Install corkboards or magnetic boards where recent work can be showcased and rotated regularly.
Sort and Categorize Regularly
To avoid piles building up, make it a habit to sort new artwork weekly or monthly. Involve your child in this process so they can choose what to keep, display, or recycle.
Sorting Tips:
– Keep favorites: Select a few special pieces that showcase milestones or memorable moments.
– Create categories: Sort by type (drawings, crafts), theme (holidays, school projects), or age.
– Photograph or scan: For artwork that’s too large or fragile, create digital copies before letting go.
Use Digital Tools to Preserve Art
Digitizing your child’s artwork is a space-saving way to archive memories and share them with family. You can use a smartphone or scanner to capture images, then store them on your computer or cloud services.
Benefits of Digital Archiving:
– Saves physical space
– Easy to organize and search through
– Enables creation of photo books or slideshows
– Protects artwork from damage or fading
There are even apps designed specifically for organizing kids’ art, making the process fun and simple.
Display Art Creatively
Showcasing your child’s creations can boost their confidence and add personal touches to your home decor.
Display Ideas:
– Rotating gallery: Use clipboards, frames with easy-open backs, or wire with clips to display rotating art pieces.
– Art books: Compile digital or physical albums of artwork to flip through anytime.
– Functional use: Turn art into calendars, greeting cards, or wrapping paper.
Remember to change the display regularly to keep it fresh and exciting.
Teach Kids to Organize Their Art
Encourage your child to take part in organizing their artwork. This helps build responsibility and decision-making skills.
Ways to Involve Kids:
– Let them pick which pieces to keep or discard
– Create a simple labeling system with dates and titles
– Set up an art journal where they can paste or draw new ideas
Making organization a fun and regular activity can help prevent clutter.
Repurpose or Gift Art Projects
If you find yourself with more artwork than you can reasonably store, consider repurposing or gifting pieces.
Suggestions:
– Use drawings as cards or tags for gifts
– Laminate favorite art to make placemats or bookmarks
– Share with relatives who may appreciate the creative touch
This way, the artwork continues to spread joy beyond your home.
Final Thoughts
Organizing your kids’ art doesn’t have to be a daunting task. With simple systems and consistent habits, you can preserve those priceless creations while keeping your space tidy. Remember, the goal isn’t just to store art but to celebrate your child’s creativity in a way that feels manageable and meaningful.
Try out these tips, and soon you’ll have organized keepsakes ready to cherish for years to come!